A dripping shower faucet can be more than just an annoyance – it can waste water and increase your utility bills. But don’t worry! With the right tools and a bit of know-how, you can fix this common household problem yourself.
This guide will walk you through the process step-by-step, helping you save money and gain some DIY plumbing skills along the way.
Let’s roll up our sleeves and get that pesky leak under control!
Step 1: Turn Off the Water Supply
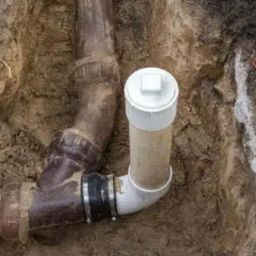
Before you start any repair work, it’s crucial to shut off the water supply to your shower. Look for the main water valve in your home, usually located near the water meter or where the main line enters your house.
Turn this valve clockwise to shut off the water. If you can’t find the main valve, don’t panic – many homes have individual shut-off valves for each bathroom. Check behind the access panel in your shower or under the sink.
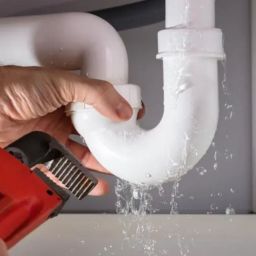
Once you’ve turned off the water, open the faucet to drain any remaining water in the pipes. This step is essential to prevent any unexpected water flow while you’re working on the faucet.
Step 2: Remove the Faucet Handle
Now that the water’s off, it’s time to disassemble the faucet.
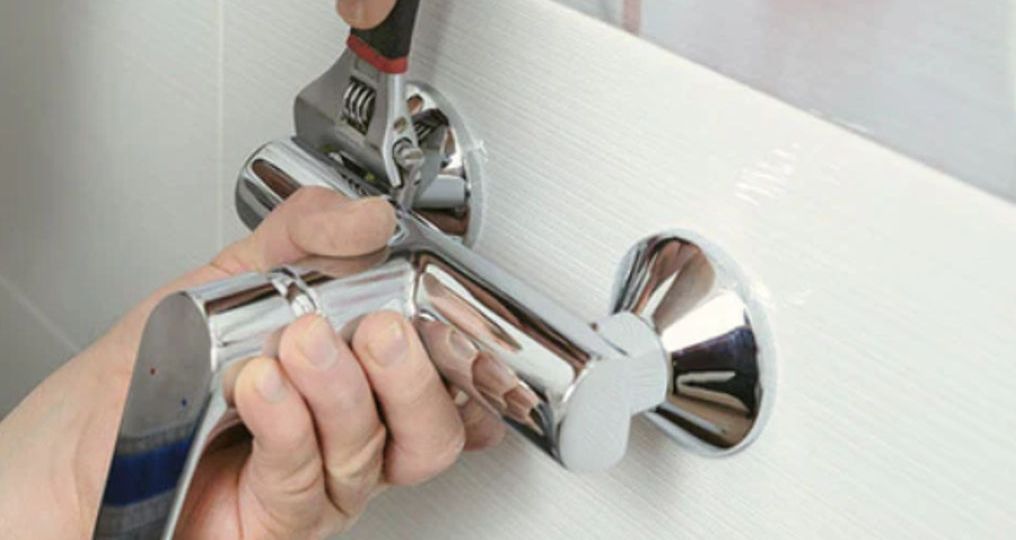
Start by removing the handle. Look for a small screw on the handle, often hidden under a decorative cap. Use a flathead screwdriver to pry off this cap if present. Then, use a Phillips head screwdriver to remove the screw.
If the handle doesn’t come off easily, you might need a handle puller tool. Be gentle to avoid damaging the handle or the wall. As you remove parts, lay them out in order – this will make reassembly much easier later.
If you’re dealing with a different type of handle, consult your faucet’s manual or look up the model online for specific instructions.
Step 3: Access the Cartridge or Washer
With the handle removed, you’ll see the shower stem. Depending on your faucet type, you’ll either have a cartridge or a washer and seat assembly. For cartridge faucets, you’ll need to remove the retaining clip or nut holding the cartridge in place. Use needle-nose pliers for the clip or a wrench for the nut. Pull the cartridge straight out – it might require some wiggling.
For washer-and-seat faucets, unscrew the stem to access the washer at its base. Pay attention to how everything fits together as you disassemble. If possible, take pictures with your phone at each step.
This visual reference can be invaluable when it’s time to put everything back together.
Step 4: Replace the Cartridge or Washer
Examine the cartridge or washer for signs of wear or damage. This is usually the culprit behind a leaky faucet. If you’re replacing a washer, simply remove the old one and install a new one of the same size.
For cartridges, take the old one to a hardware store to find an exact match – different brands and models use different cartridges. When installing the new part, apply a thin layer of the plumber’s grease to help it slide in smoothly and create a better seal.
Make sure everything is aligned correctly before securing it in place. This is the heart of the repair, so take your time to ensure everything fits perfectly.
Step 5: Reassemble the Faucet
Now it’s time to put everything back together. Follow your disassembly steps in reverse order. If you’re dealing with a cartridge, make sure it’s fully seated and secure the retaining clip or nut.
For washer-and-seat faucets, screw the stem back in place, being careful not to overtighten. Reattach the handle, ensuring it’s oriented correctly.
If you removed any decorative pieces, now’s the time to put them back. Double-check that all screws are tightened properly, but avoid using excessive force.
A snug fit is sufficient – overtightening can strip threads or crack components. Take a moment to admire your handiwork before moving on to the final step!
Step 6: Turn the Water Back On and Test
The moment of truth has arrived. Slowly turn the main water supply back on. Listen carefully for any unusual sounds that might indicate a problem. Once the water’s fully on, return to your shower and turn on the faucet.
Watch for any leaks around the handle or spout. Let the water run for a few minutes to ensure everything’s working correctly. If you notice any drips or leaks, don’t panic – you might just need to tighten a connection.
If the problem persists, you may need to repeat the process or consider calling a professional.
Congratulations! You’ve successfully repaired your leaky shower faucet.
When to Call a Plumber in Phoenix?
While many faucet repairs are DIY-friendly, some situations call for professional help. If you encounter corroded parts or damaged pipes, or if the leak persists after your repair attempt, it’s time to call in the experts.
Plumbers have specialized tools and extensive experience to handle complex issues. They can also identify underlying problems that might not be immediately apparent.
In Phoenix, where hard water is common, you might face mineral buildup that requires professional cleaning. Don’t hesitate to seek help if you feel overwhelmed – it’s better to address plumbing issues promptly to prevent water damage and higher repair costs down the line.
DIY vs Professional Shower Faucet Repair
Deciding between DIY and professional repair depends on several factors. DIY can save money and be satisfying, but it requires time, tools, and some plumbing knowledge. Professional repairs, while more expensive, guarantee expertise and often come with warranties.
Consider your skill level, the complexity of the repair, and the value of your time. For simple cartridge or washer replacements, DIY is often sufficient.
However, for older homes, complex faucet designs, or if you’re uncomfortable working with plumbing, professional help is advisable. Remember, improper repairs can lead to more significant problems, so assess the situation carefully before deciding.
Conclusion
Repairing a leaky shower faucet is a manageable task for many homeowners. By following these steps, you can save money and gain valuable DIY skills.
However, if you encounter any difficulties or prefer professional assistance, don’t hesitate to seek help. For reliable plumbing services in Arizona, consider reaching out to Phoenix Plumbing & Drain Service.
Our experienced team specializes in home leak repair in Phoenix and a wide range of other plumbing needs.
We’re here to ensure your plumbing issues are resolved quickly and efficiently, keeping your home dry and your water bills in check. Schedule an appointment today!
To learn more about our services and our team, visit our About Us page.