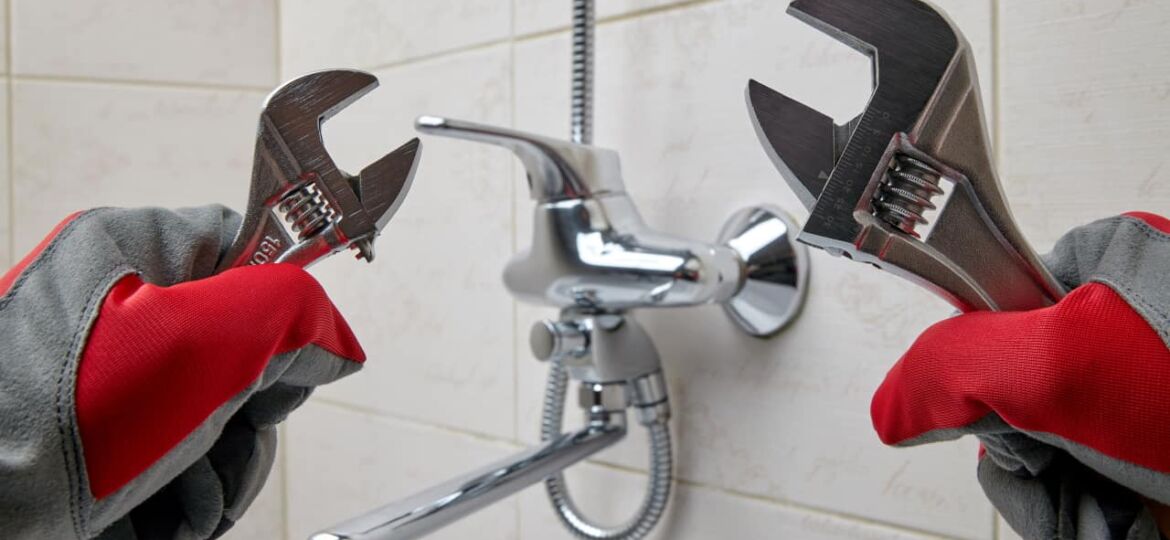
Like any place in your house, there will come the point when the water temperature from your shower faucet is a bit off. Worse yet, you may find mineral buildup on your faucet handles, cover plate, and tub spout, among other places. If you opt to replace your shower valve, here are the basic steps to do it yourself. However, as a disclaimer, you must exercise caution when replacing your shower valve. You need to ensure that the water supply is shut off before starting to prevent the risk of hot or cold water spraying on yourself. As a novice plumber, here is a step-by-step method for replacing a damaged shower valve and replacing them with a new one.
Step 1: Expose the Valve
- To be safe, cover the drain with a washcloth by stretching it over the drain to block the drain completely. This prevents screws and other small parts from falling into the drain. Ensure that you place the screws in the same place so you won’t lose them.
- Take the shower handle off by removing the screws that hold the shower handles in place. You may need to wiggle or tap the shower handles to slide them off the stem.
- Unscrew the trim plate. These are usually secured on two sides. Once removed, you may need to soak them under vinegar or CLR to remove dirt or grime buildup. If the trim plate is broken or corroded, you may need to shower them to determine which model should replace them.
- Remove the caulk attached to the trim plate if necessary. Use a utility knife when removing the caulk.
Step 2: Remove the Old Shower Valve
- Shut the water supply off. You can locate the shower’s water stops and turn them clockwise. These may be round or single-handle faucet types. There may be cases when the water stops are turned on and off with screws. In that case, you need to turn the screws tightly to the left. Please note that the cartridge’s water stops are typically located to the left and right. You need to turn both stops for cold and hot water if applicable. If you can’t find the water stops, turn off the water supply to your entire home.
- Cut an access hole large enough to access the valve better. Ensure that you don’t cut a hole too large for the cover plate to cover later.
- Remove the valve clip with long nose pliers. Shower valves are typically secured with a metal clip that holds them in place. Because of aging, the valve clip may be damaged. A new valve usually comes with its clip. However, retainer nuts hold certain valve sets in place. In that case, you can hold the valve while unscrewing the nut with a wrench.
- Remove the valve from its position by pulling it with pliers. However, the valve may not slide out easily, even for copper pipes. To avoid damaging the copper pipe, you may need to spay the area with SD-40 and pull the valve off after a few minutes.
Step 3: Installing the New Shower Valve
- Insert your new valve by gripping the end of the new valve cartridge. Please ensure that the new valve should be identical to the old cartridge. Use pliers to grip the new valve cartridge. Slide the new valve into its appropriate slot. You may wiggle the cartridge along the axis of the slot if it gets stuck. Take note that if the valve assembly is rusted, you may need to replace the entire shower and tub valve assembly. There might be a possibility that the valve you purchased is of the wrong size. You may need to double-check the valve size and model first if those match your old cartridge. Seal the end with Teflon tape.
- To secure the new valve, place the metal clip into place. You might need to use the new clip with the new valve. If you still have your old valve clip, you may use those instead.
- Turn on the water supply. Turn the screws to the right if it applies to your water stops. Turn on the water supply for your whole house if applicable. When doing so, turn the water on slowly to reduce the risk of water bursting from the cartridge.
- Place back the trim plate or cover plate.
How To Get Access To The Valve Through the Wall?
There is often an access panel behind the shower (opposite the bathroom side). However, you may need to knock down the wall to access the valve if there is no access panel. In the case of older homes, you may need to arrange for an asbestos inspection before proceeding to replace your shower valve.
Takeaways
Replacing your old shower valve with a new shower valve and a new shower faucet may be complicated. Observe safety when doing this task always. To ensure a high quality of work that will last a long time, you may need the help of professional plumbers to do this task for you. As homes age, there will be specific challenges each shower valve present. In the hands of expert plumbers, there is nothing to worry about. To learn more about our shower valve repair and replacement services for any shower valve types, call us at (480) 418-2165. You can also ask us anything about plumbing questions, such as how much does it cost to remove and install a bathtub, or how best to approach plumbing repairs for your entire house.
